Log into the server console where SMOP will be installed. You can log into the console directly or use a terminal services session to run the SMOP Setup.
Note: You must log in using an account that has local administrator privileges.
Start SMOP Setup by invoking setup.exe from the directory where you have downloaded and extracted the SMOP setup files. By default, this is c:\smop_setup\setup.exe.
Existing SMOP Customers:
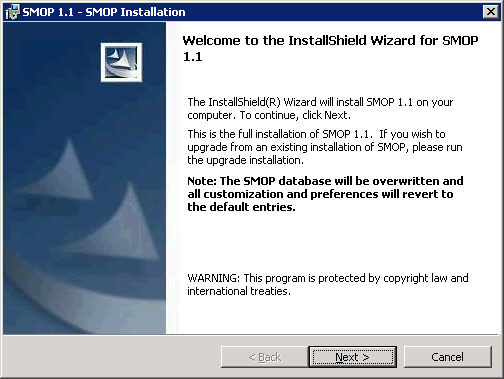
Please note that the full setup should NOT be used by existing SMOP customers in production. All user enrollment data, customizations, and preferences will be lost if the full SMOP setup is used. The SMOP Upgrade installation should be used.
Click Next to continue.
The SMOP license agreement will be displayed.
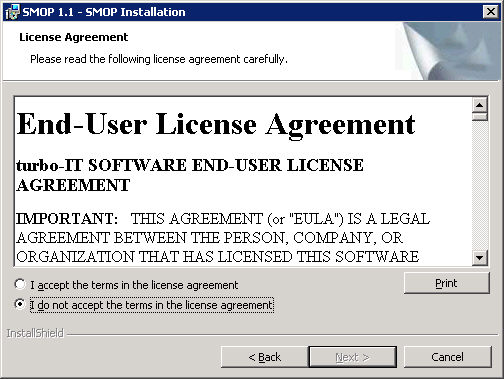
Please read through the license agreement, select the "I Accept" radio button, and click Next to continue.
You will see the SMOP System Requirements screen.

Please read this information carefully, prepare the needed information, and click Next to continue.
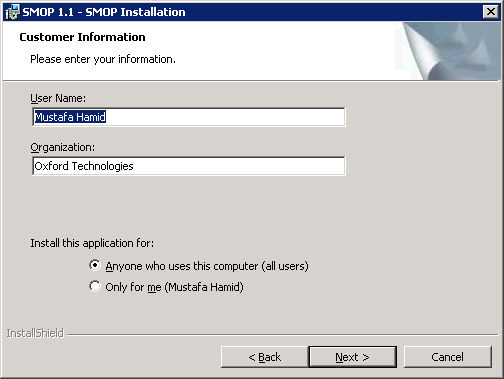
Please enter in your company information and click Next to proceed.
Please select the destination folder for the SMOP program files. SMOP installs only a few files here, the majority of SMOP files will be located in the virtual directory for the SMOP web site. This folder is where the SMOP error log file (smop.log) will be located.
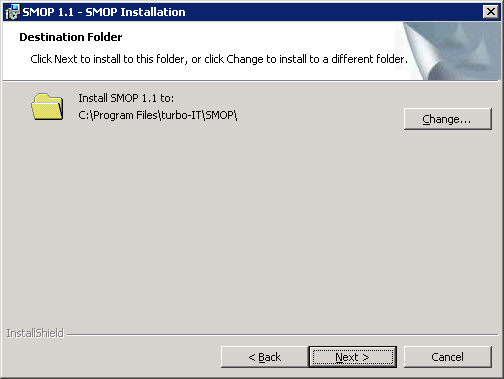
Select the destination directory and click Next to Continue.
SMOP must use the default web site during the installation. Within the default web site, you may select the destination folder where the SMOP virtual directory will be installed.
The SMOP installation will create a virtual directory underneath the Default Web Site. You have the option at install time to locate this virtual directory anywhere on the SMOP server. Note that you are selecting the parent directory where the SMOP virtual directory will be located, and NOT the directory where the SMOP files will be located. For example, if you select C:\ as the path, the SMOP virtual directory will be pointed to C:\SMOP. The SMOP directory itself will always be "SMOP".
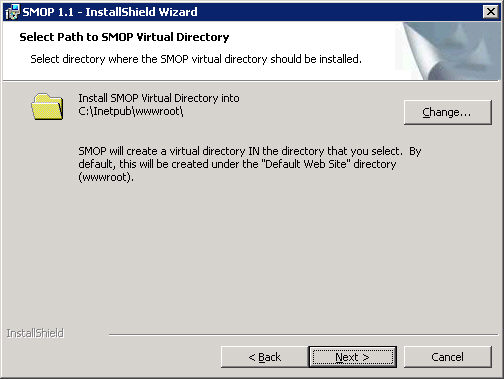
Select the destination directory for the virtual directory and click Next to Continue.
Select what type of database you will use for the SMOP database. See Selecting SMOP SQL Server type for more information.
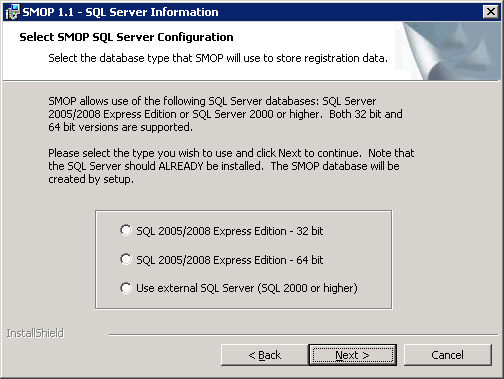
Select one of the radio buttons corresponding to your type of SQL Database and click Next to Continue.
Depending on which database you are using, setup will ask for database specific parameters. See the appropriate section below:
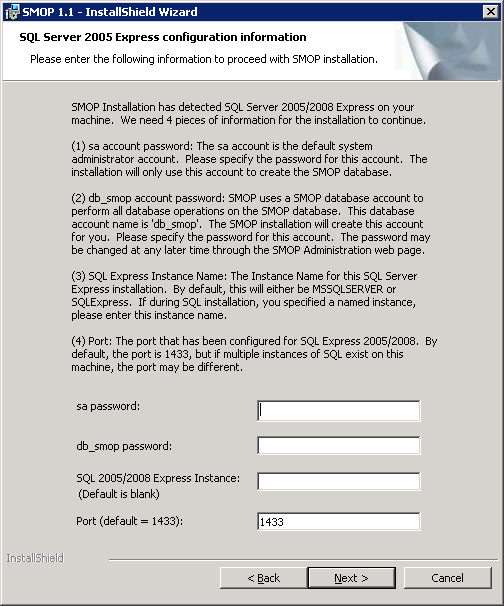
sa Password: The sa (System Administrator) password. The sa account is used to create the SMOP database and the db_smop user. After setup, all database operations use the db_smop SQL login.
db_smop Password: You can select the password for the db_smop account. The name of the user is hardcoded to be 'db_smop' and created by setup. We recommend that you use a strong password that includes numbers and uppercase letters.
SQL 2005/2008 Express Instance Name: The instance name of the SQL Server 2005/2008 Express Edition installation. If you only have one instance, leave this space blank which will use the default name. If you have installed multiple instances of SQL Server 2005 Express Edition on this server, you will need to give the name of the instance that you have installed for SMOP use. Please note that SMOP should not be installed in the same instance as other applications. If you need help determining the SQL Sever 2005 Express Edition Instance Name, go here.
Port: The TCP/IP port number that this instance of SQL Server 2005 Express Edition is using. If you only have one instance of SQL Server 2005/2008 Express Edition installed on the server, this will be 1433. If you have multiple instances, you will need to specify the port that is being used by the SMOP instance of SQL Server 2005/2008 Express Edition. Please see determining the port number for the SMOP SQL Server 2005/2008 Express Edition Instance, for more information.
Fill in the required parameters and click Next to Continue.

SQL Server Name: Server name of the SQL Server that you want to use for SMOP.
SQL Account: A SQL account that has System Administrative privileges. Usually, this is 'sa'.
Password: The password that corresponds to the SQL Account that has System Administrator privileges.
Port: The TCP/IP port number that SQL Server is configured to use. The default is 1433. If it is different, you may have to consult with the SQL administrator on what port is configured for SQL Server.
Fill in the required parameters and click Next to Continue.
When you click Next, the SMOP setup will try and verify that the SQL Server connection parameters are correct. If a connection is made to the SQL Server you specified using the given parameters, SMOP setup will proceed to the next screen. If there is an error, the setup will prompt you to correct the information and try again.
Please specify the SMOP Administrative Group. See SMOP Administrative Group for more details.
This is a critical step that is difficult to correct later. If you specify an incorrect group name here or mistype the name, you will be locked out of the SMOP Administration pages, and you will not be able to correct this!! Please carefully enter the SMOP Administrative Group name and make sure the account that you will be using is a member of this group.
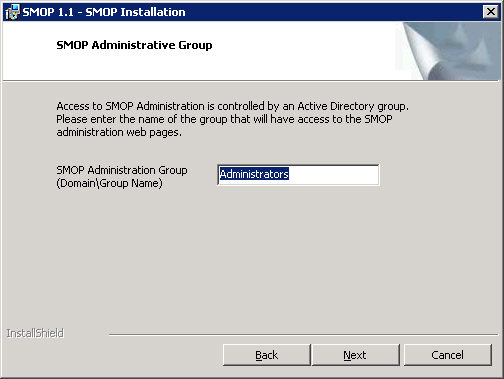
Type in the correct SMOP Administration Group name and click Next to Continue.
SMOP setup has now collected all the needed information and will install when you click the Install button. It is recommended that you close all other programs and let SMOP installation finish before continuing with other work on this server.
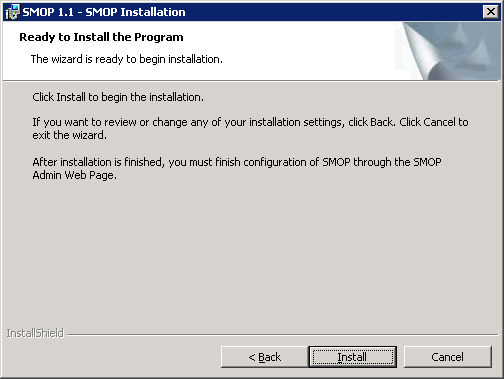
Click Install to proceed with the SMOP installation.
A final window is displayed when SMOP setup is finished. It will remind you that some SMOP configuration items are still pending and needs to be finished by accessing the SMOP Administrator URL.
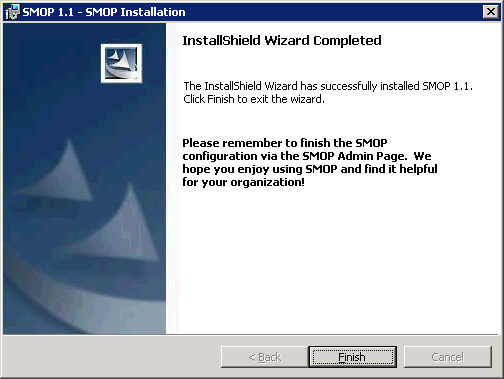
Before using SMOP, you will need to configure the following items using the SMOP Administrator web pages. Please see the appropriate sections for more details. The items in red are the items that are absolutely required before starting to use SMOP. However, it is recommended that you fill in all the information before proceeding so that you can take full advantage of all of SMOP's abilities.
SMTP Server
From Email Address
To Email Address
Subject Tag (can leave this as default)
Email notifications
Company Name
Password Policy
Helpdesk URL
URL Caption
Separate Unlock Account
Minimum # of Questions
Maximum # of Questions
Case Sensitive
For a step by step guide, see Configuring SMOP for First Time Use.