SMOD gives the SMOD admin great control over which attributes are shown and on which pages for the user. There are two primary ways to classify attributes for ease of presentation to the user:
Categories are shown as separate links on the left hand side as shown here:
Descriptions of how to use categories can be found in the Categories section.
Within each category, SMOD allows further display control with the use of groups.
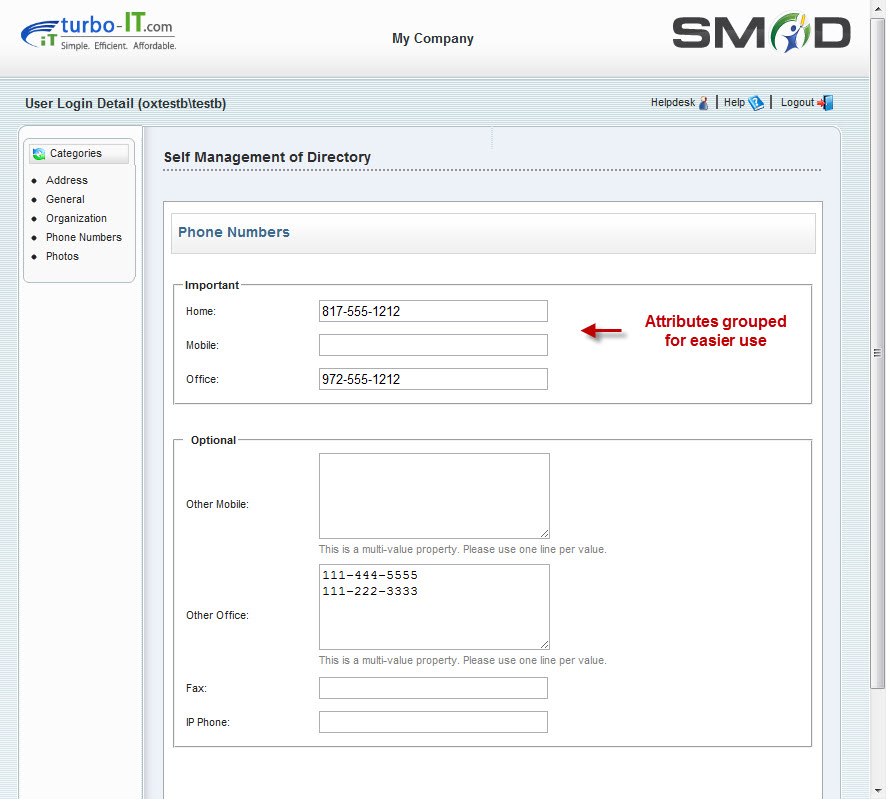
Groups are sub-categories within a category. Within a category, attributes can be organized according to whatever the SMOD admin needs. For example, in a category named Phone Numbers, the SMOD admin may want to group some phone numbers as Important and others as Optional. This would result in the following look for the SMOD user. Notice that some attributes are shown before others based on their groups.
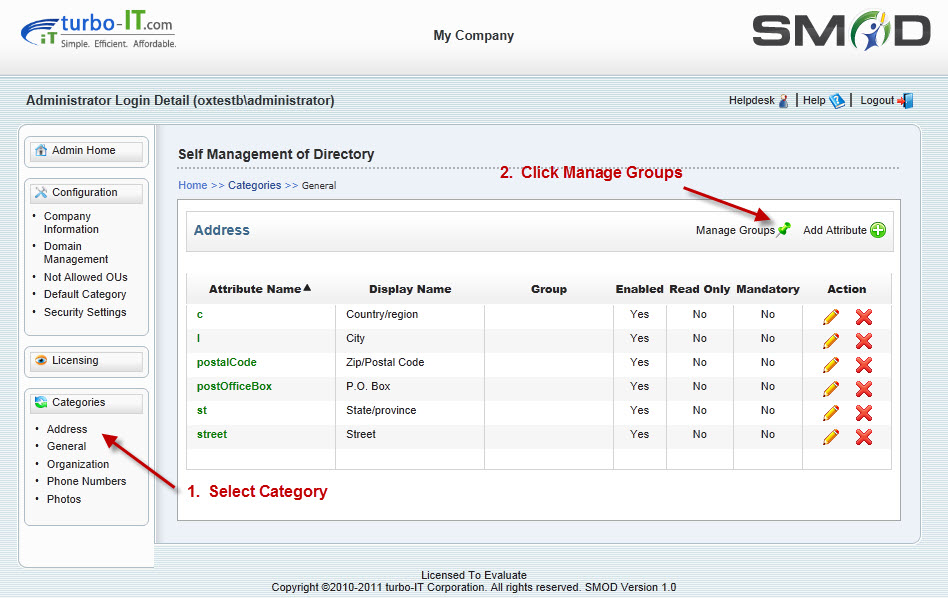
To organize attributes into a group, you must first create the groups. Each group is unique inside a category. Click on a category and then click Manage Groups as shown:
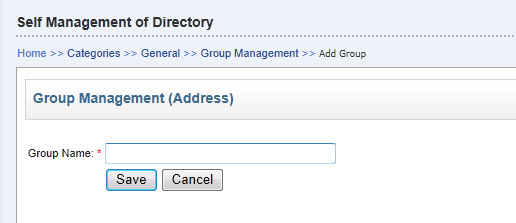
Click on Add Group. This will open the Group Management page. Type the name of the group and click Save.
To edit a group name, you can click on the edit icon next to the group
name: ![]()
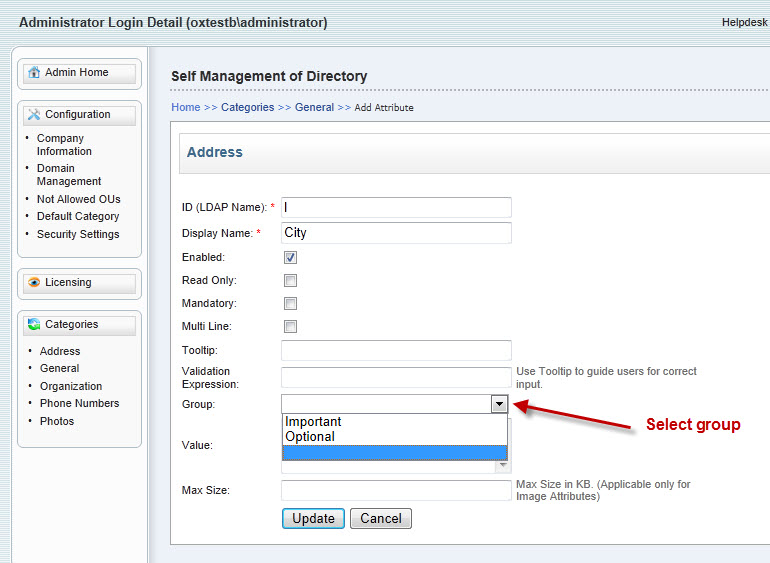
Once your groups have been created, you can assign attributes to each group as shown below. Edit the attribute to bring up the attribute edit screen. In the drop down box for Group - select the desired group for that attribute and click Save.